Feature Tour #1 of 5: The Outline
In this five-part tour, we’ll give you a quick run-through of Fablehenge’s core features. Ready to learn how Fablehenge can help you finish your novel faster? Let’s go!
- Feature Tour #1 of 5: The Outline
- Feature Tour #2 of 5: Tags
- Feature Tour #3 of 5: To-dos
- Feature Tour #4 of 5: Feedback
- Feature Tour #5 of 5: Pro Features
Basic Outlining
You might be thinking: it’s just an outline, right? Pretty straightforward. Well, yes! We designed it to be intuitive and we hope it’s simple to use. The flexible interface gives you multiple options for organizing your story. There’s also a lot of information available about each scene, and some powerful features to help you find what you’re looking for quickly, so let’s dive in.
At its core, the outline is a way to order (and re-order) scenes. Create a title and a brief summary for each scene. Those who write a complete outline upfront might sit down and do this all before writing any text. (Tip: if you’re in the zone creating a lot of scenes at once, you can use the keyboard shortcut [Shift-Enter] to automatically create a new scene below your current one).
If you’re more of a discovery writer, you may end up with long scenes that you want to organize after the fact. Fablehenge makes this easy. To split a scene, place your cursor where you’d like the new scene to begin, then click “Split Scene” in the manuscript toolbar.
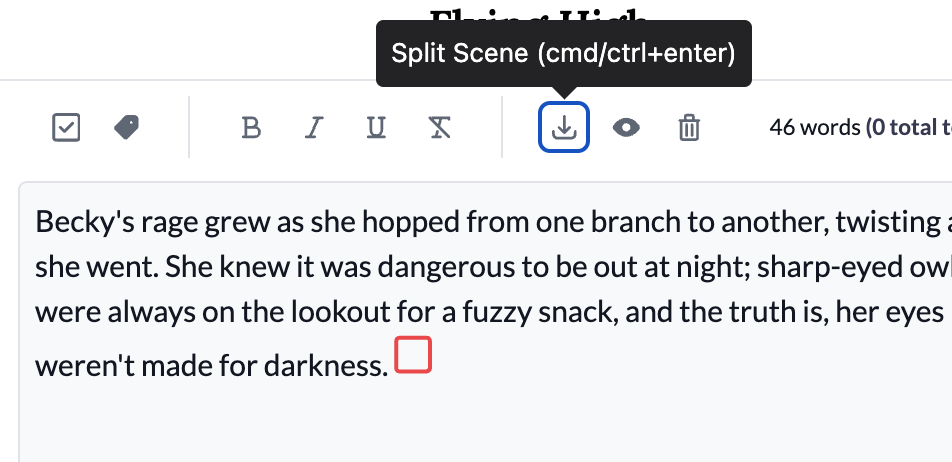
The new scene appears after the current one, ready to edit.
Drag and Drop
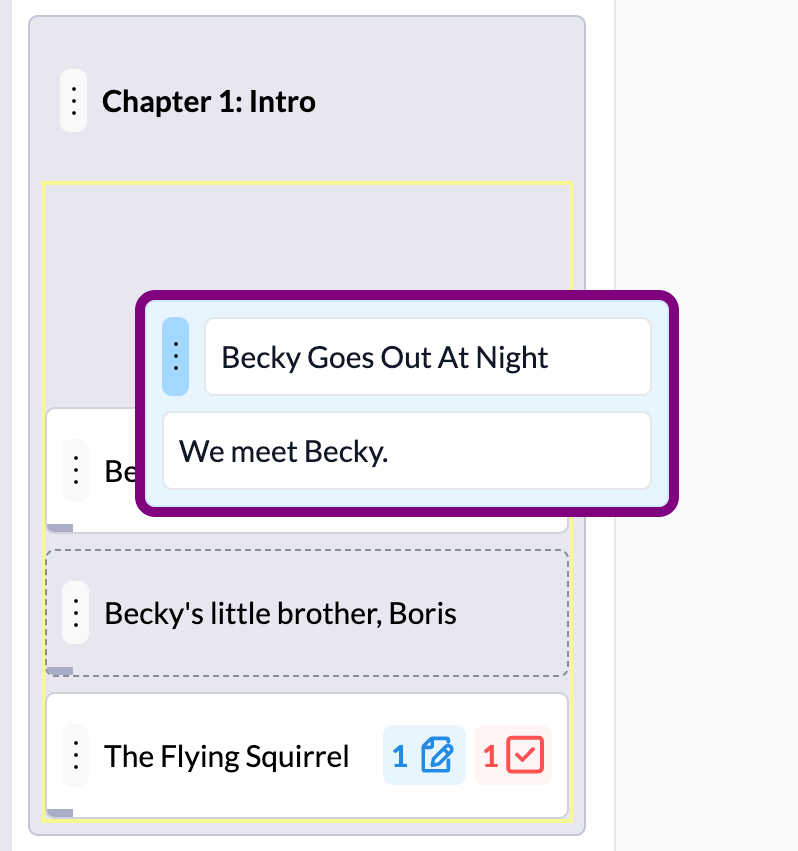
Drag and drop to reorder scenes.
Scenes can be collected into chapters, which can be dragged and dropped as well.
Card View
If you have a lot of reorganizing to do, or want a more detailed overview of all your scenes, drag the right side of the outline to the right to expand into card view.
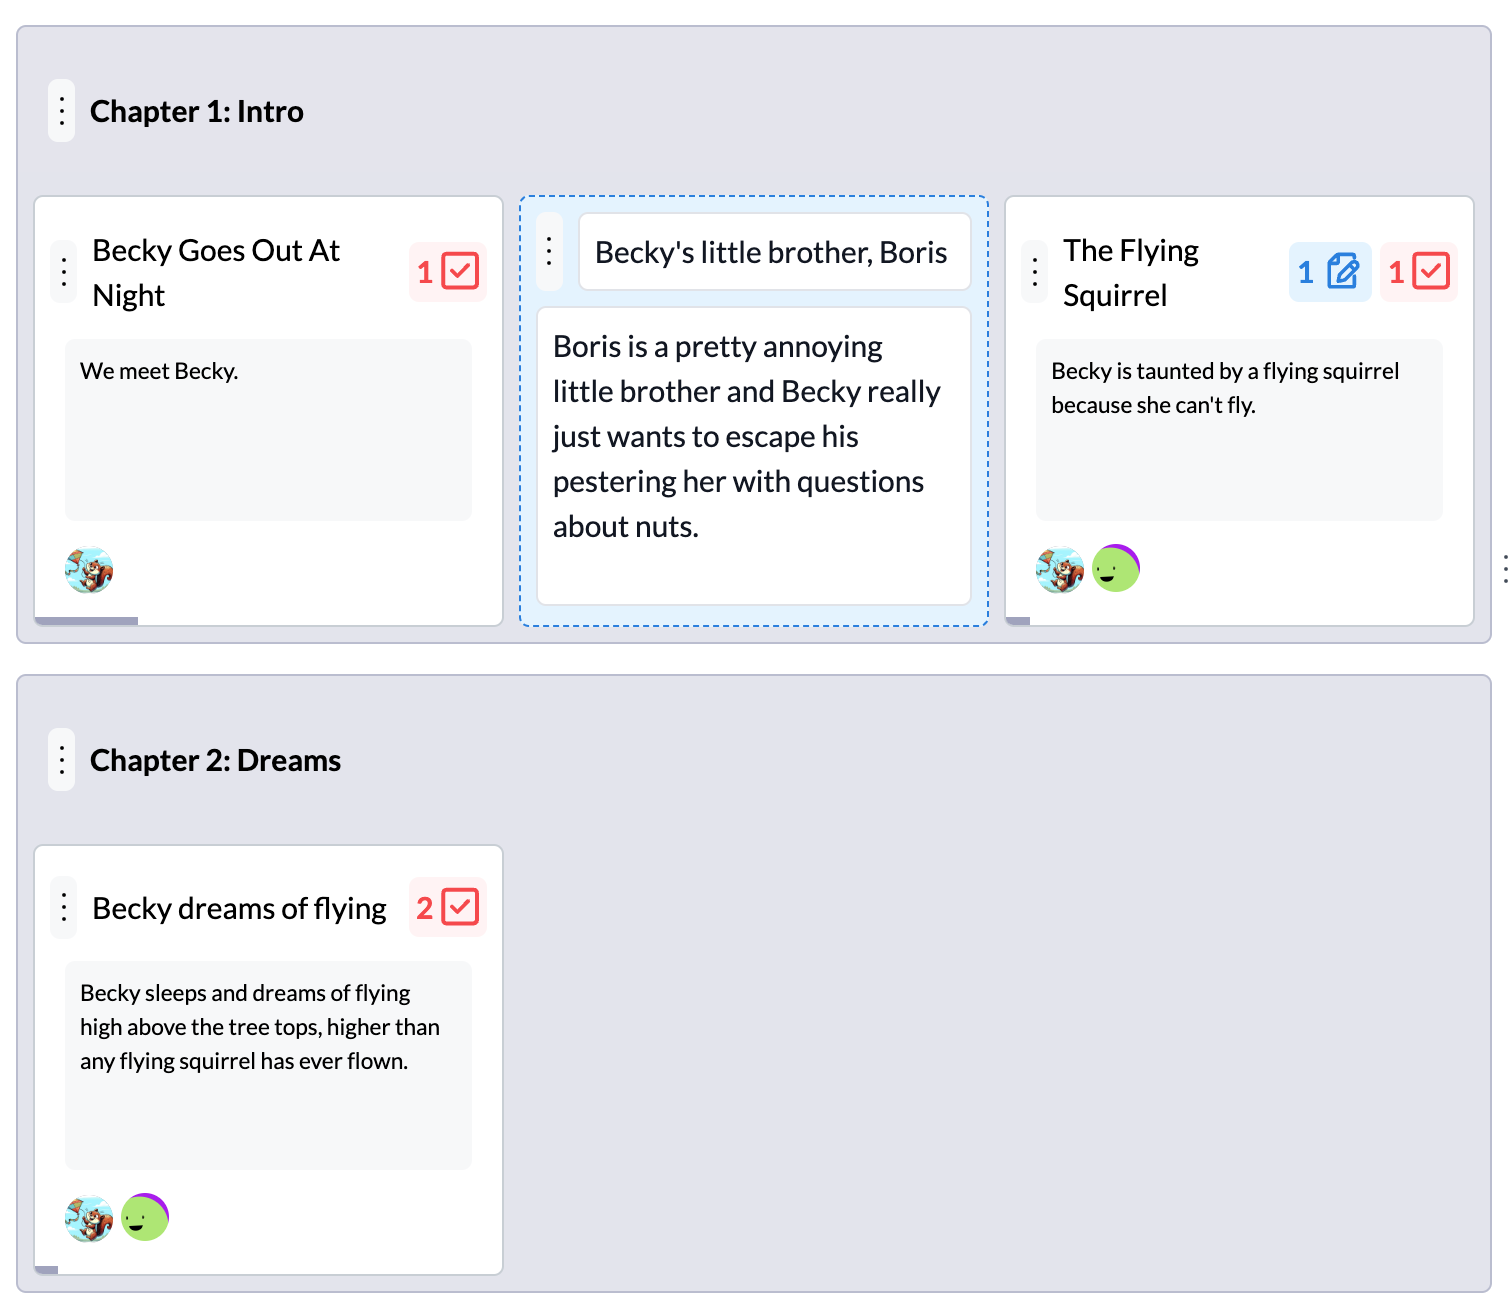
This shows more information about each scene: in addition to the title, you’ll see the summary, and the avatars of any tags in the scene.
Drag and drop any chapter or scene, just like the regular outline view.
See Action Items At a Glance
If a scene has outstanding to-dos, the to-do count appears in a red badge to the right of the title.

Likewise, any scene with unresolved feedback will show the feedback count in a blue badge.

Want to see only the scenes with to-dos? Use the outline filter to select “Outstanding To-dos,” and just those scenes will be shown. You can filter by unresolved feedback as well.
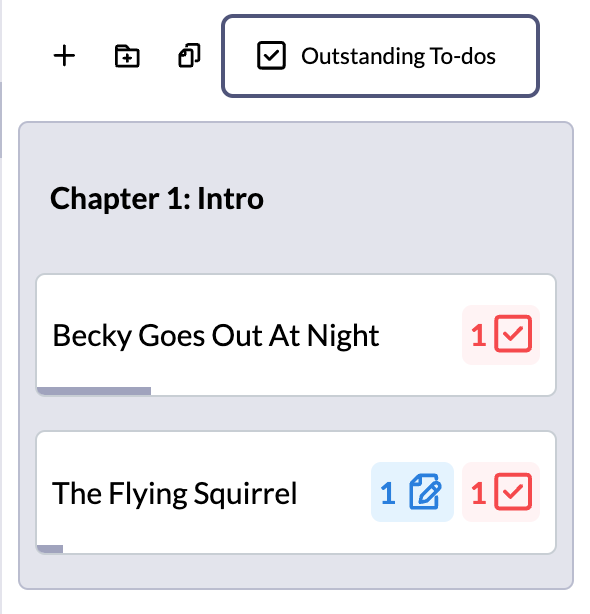
Also note the small progress bar across the bottom of each scene - the width of this bar indicates the length of the scene. It’s a quick way to see at a glance how much progress you’ve made on each scene, and which ones you haven’t started yet. Hover to get the exact word count.
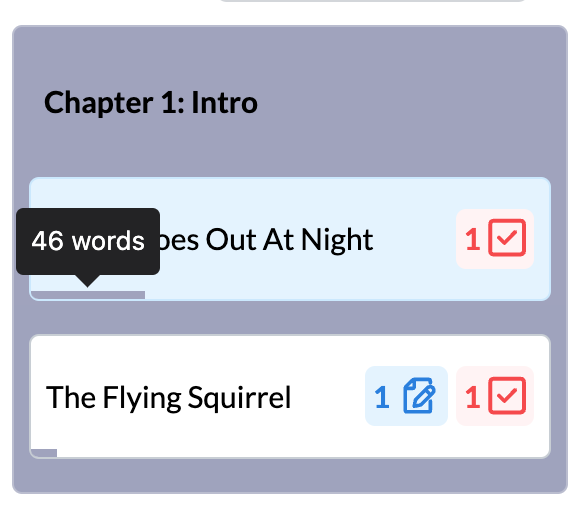
The progress bar uses a sigmoid scale, for those curious about such things - i.e., at the upper and lower ends (with very small or very high word counts), the bar width increases by smaller increments. This helps make sure the progress stays visible when you have both very long scenes and very short scenes in the same book.
Find Scenes with Filter and Search
We touched on filtering briefly a moment ago: if you want the outline to show only scenes with outstanding todos or feedback, just select that option from the outline filter menu.
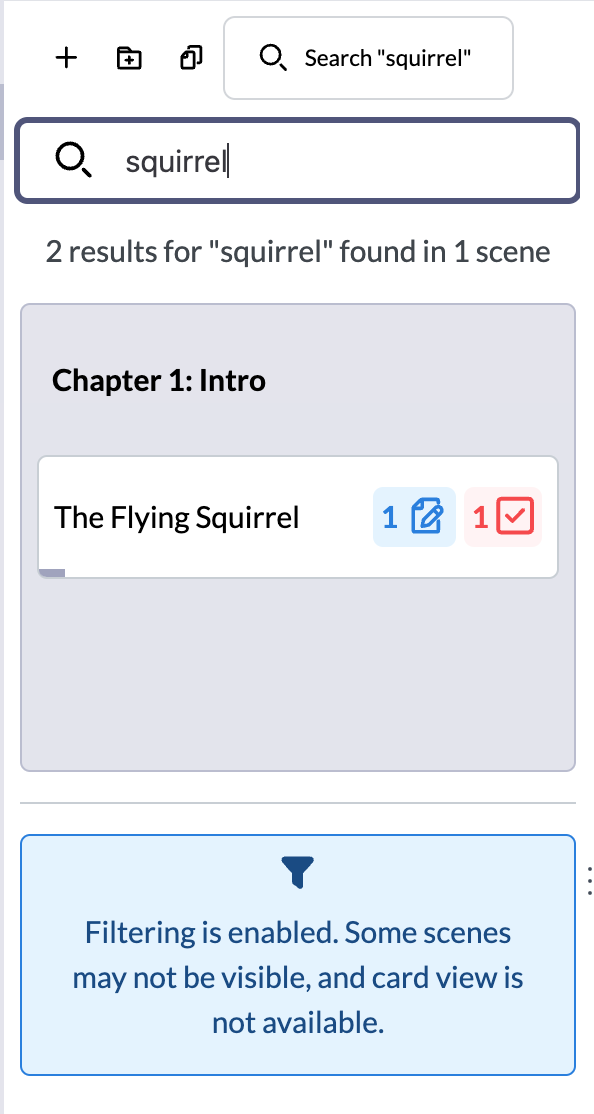
There’s also a search option, which works just how you’d expect: select “Search” from the outline filter dropdown, and enter your search text to search across all scene titles, summaries, and text:
If you’re looking for all scenes containing a specific tag, there’s a more targeted option. First, select the tag in the tag sidebar. Then, choose “Tagged (Tag Name)” from the outline filter.
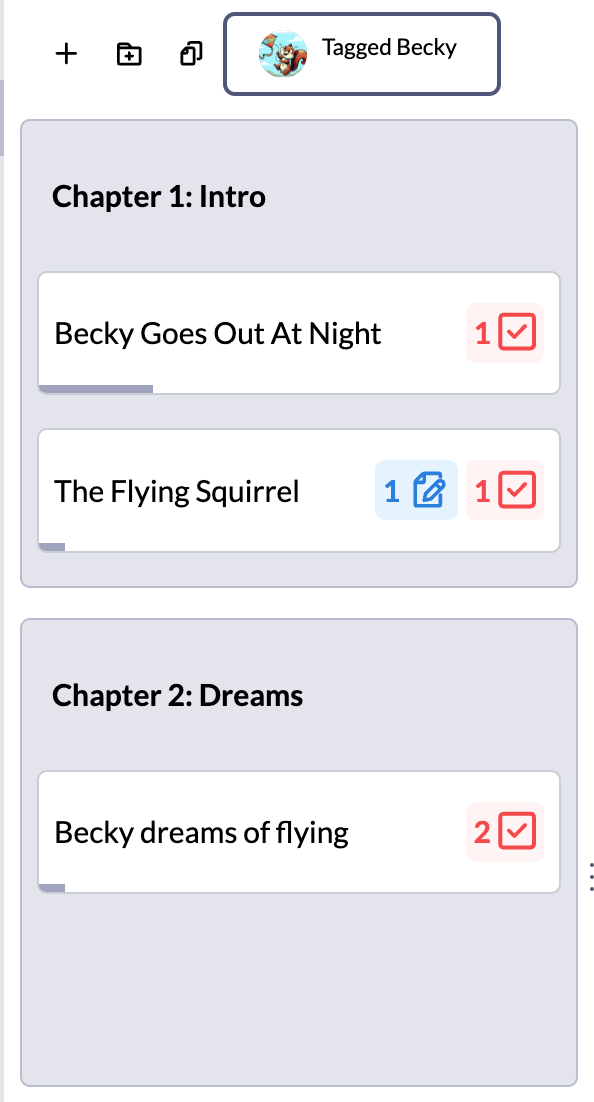
Now the outline shows all scenes containing this tag. Handy for keeping track of which characters appear where, and how often.
Outlining is a big topic, and every writer experiments to find where they fall on the spectrum. Some people write a complete outline upfront; for others, it comes much later in the process; and many fall somewhere in between. Whatever your preference, we hope the outlining features support you and adapt to the way you like to work.
If you have ideas, questions, or comments, we’re always interested to hear what you think. Let us know if you think of something that would make your life as an author easier.

